

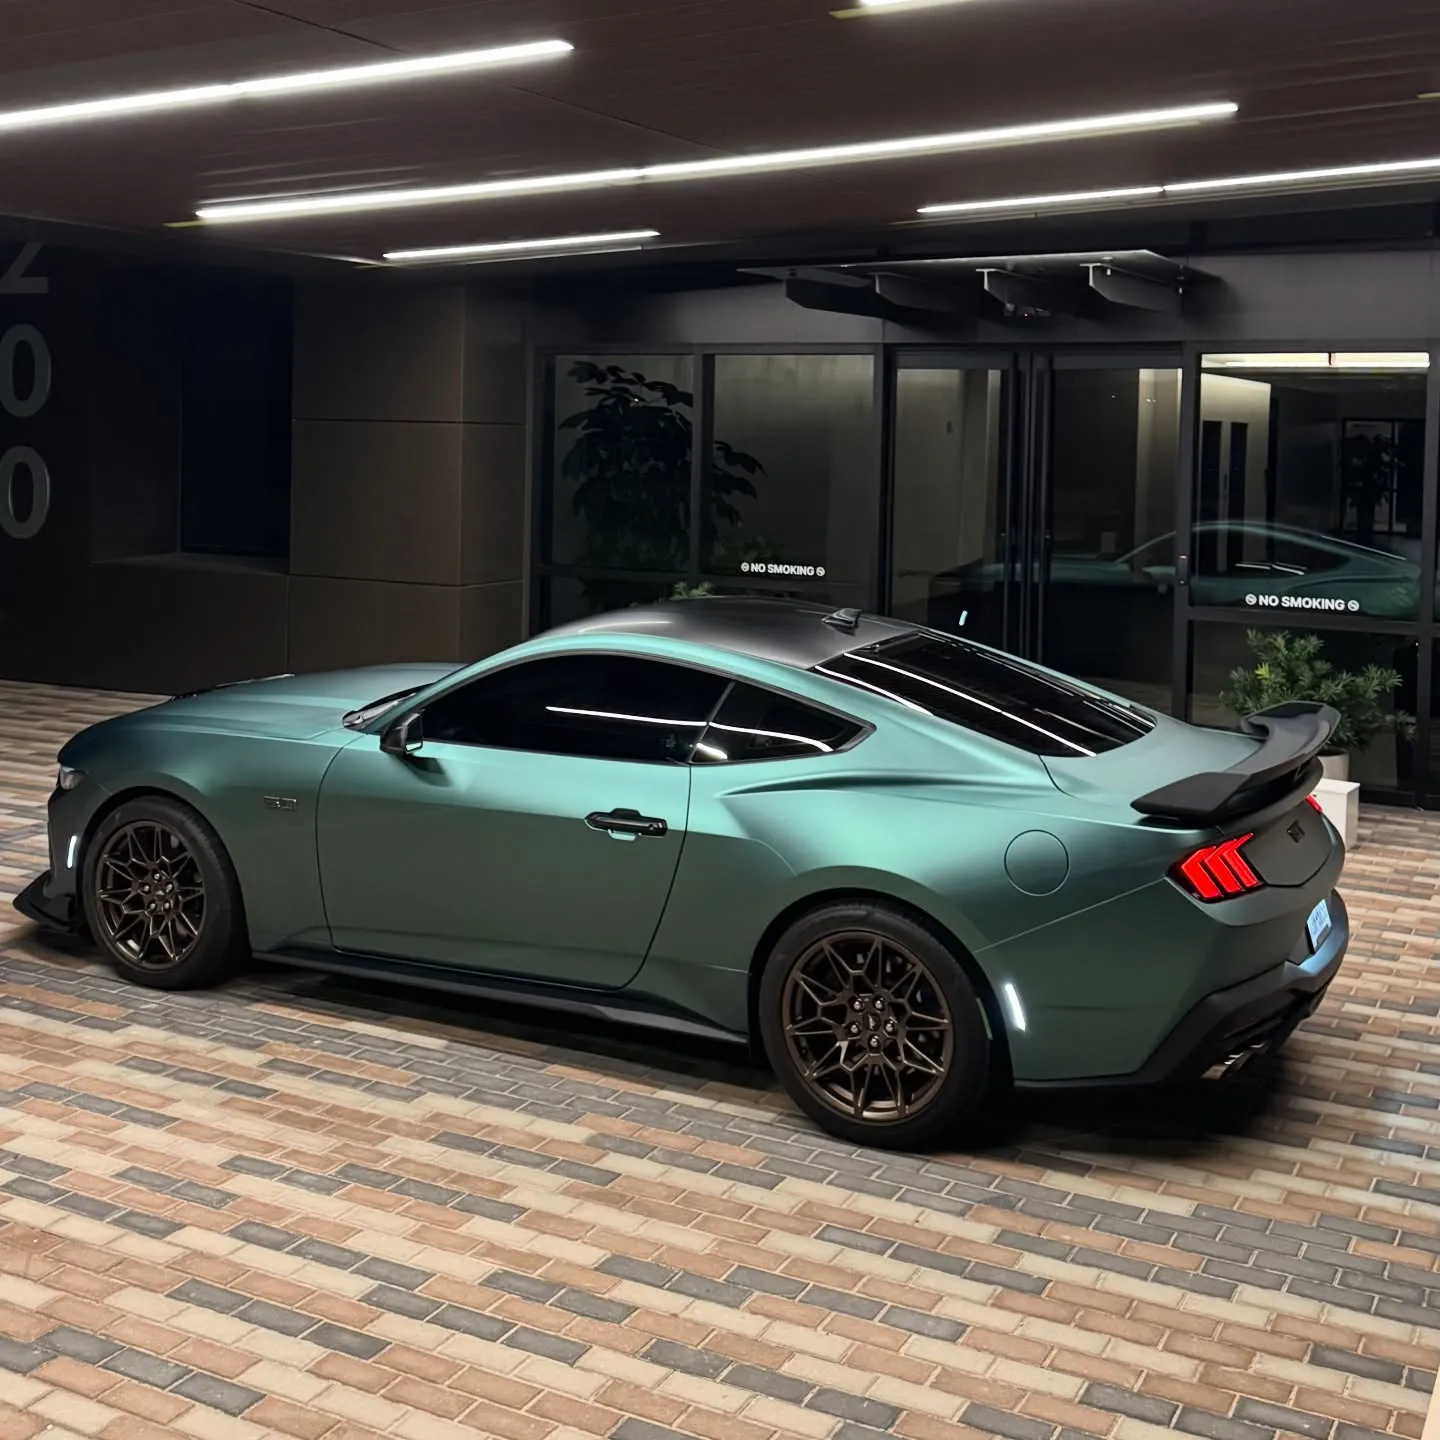
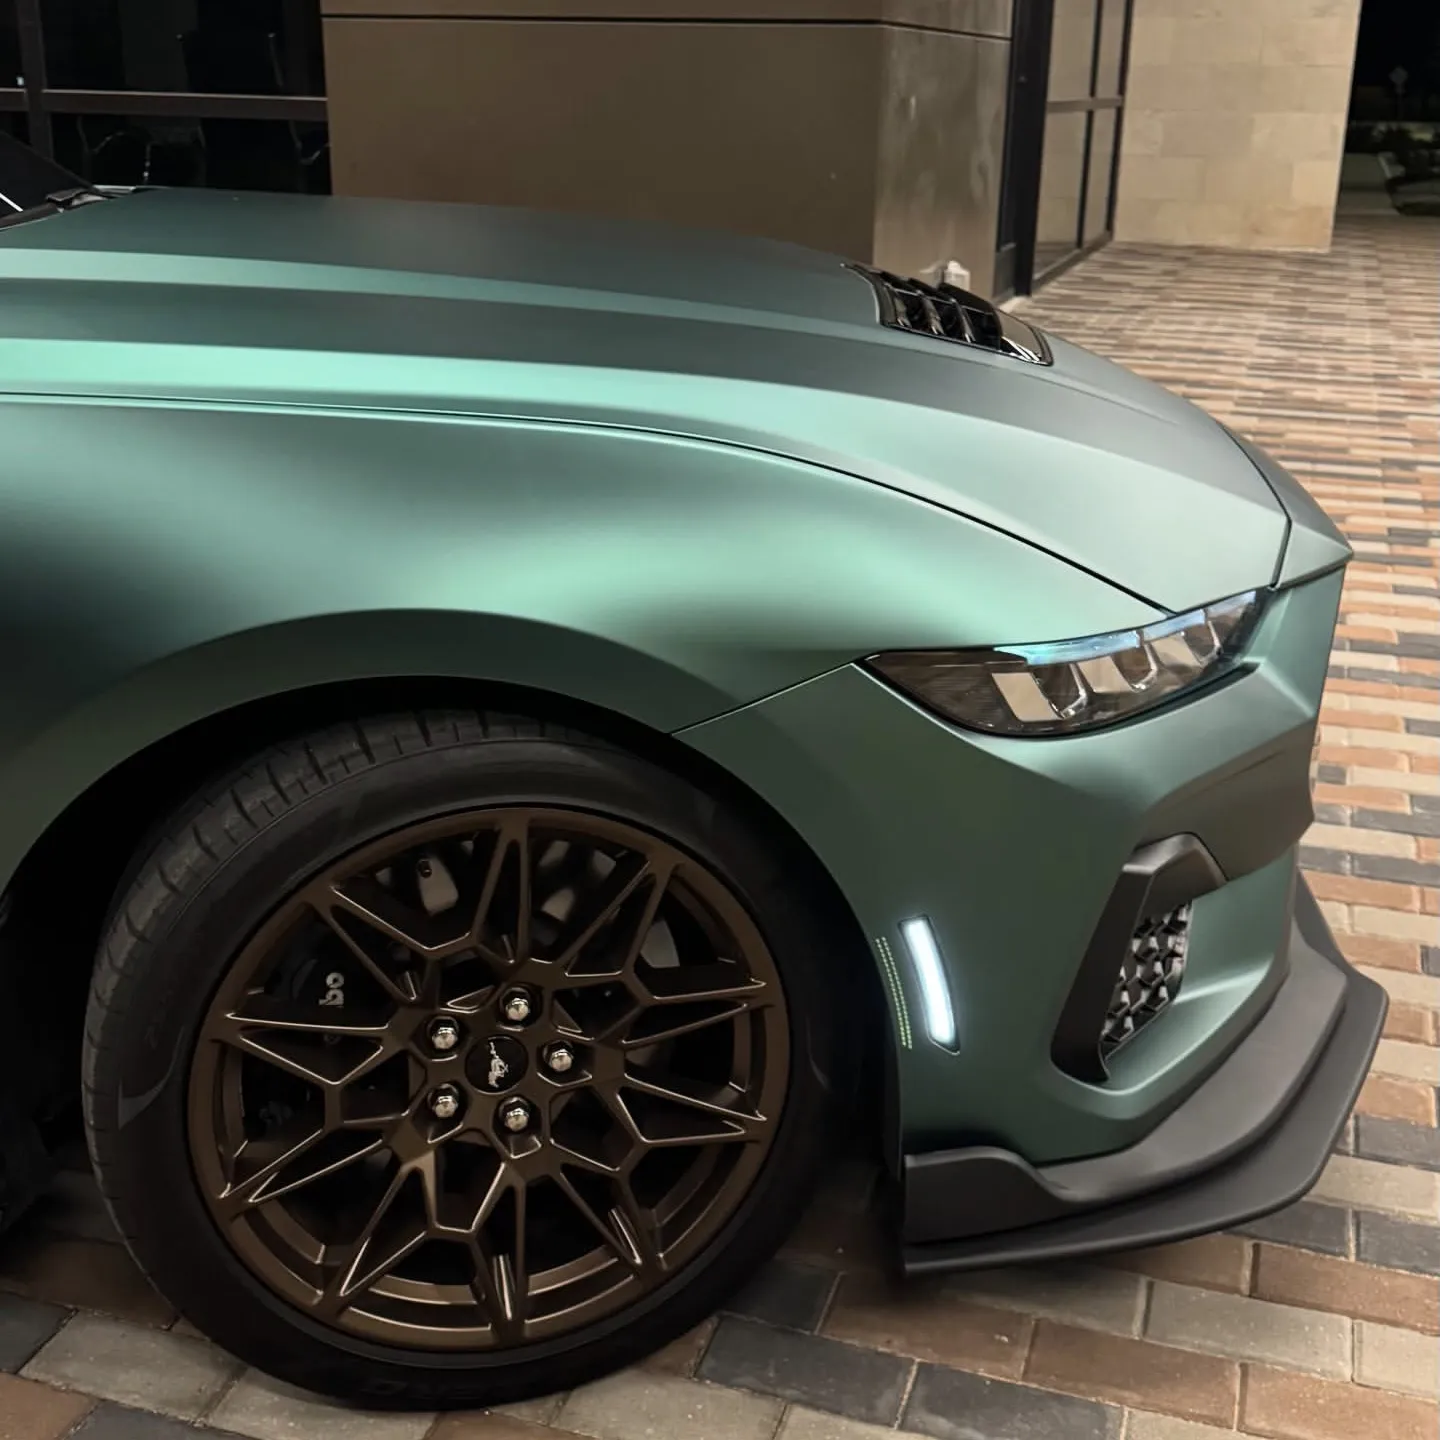
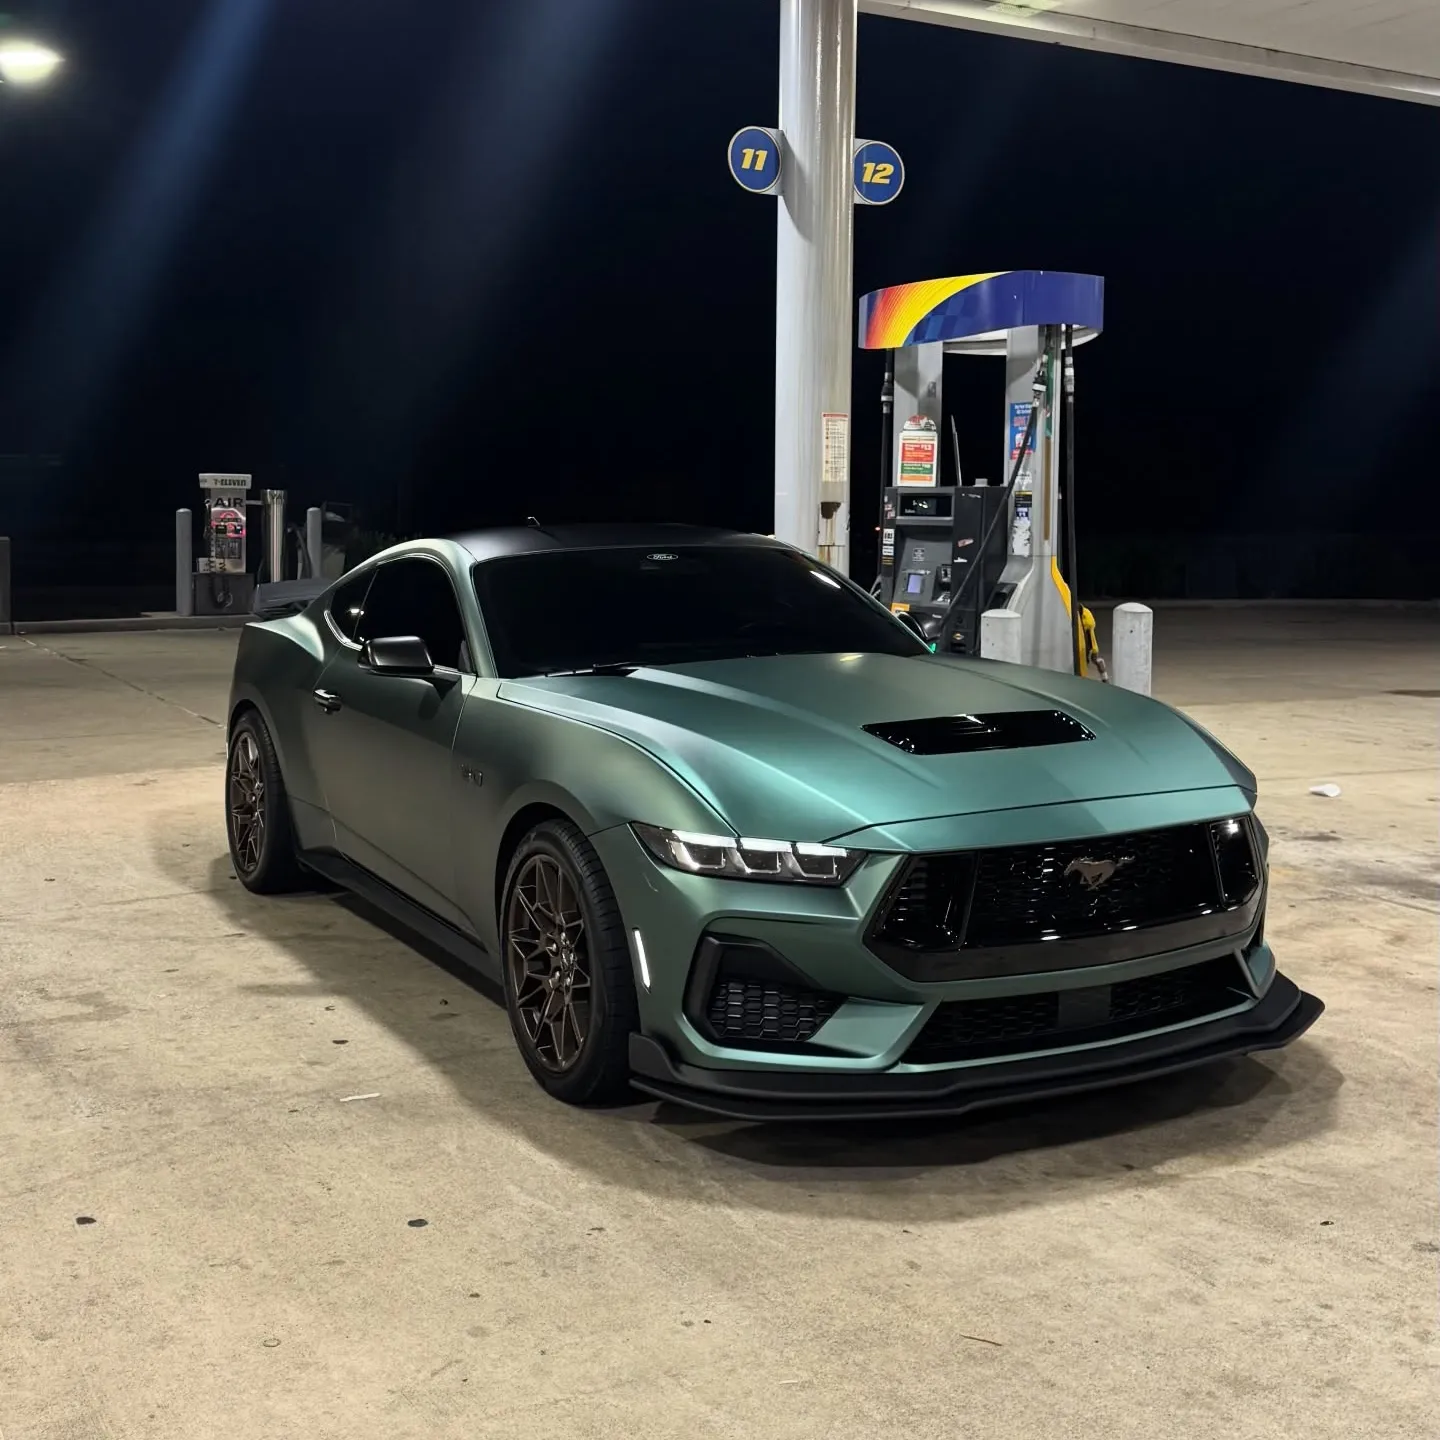
Transform your vehicle with the ultra-matte midnight green car vinyl wrap. This wrap not only enhances your car's appearance but also provides a protective layer against environmental damage. Its sleek finish makes a bold statement on the road. You will find the application process straightforward, allowing you to achieve a professional look without the hassle. Following each step carefully will ensure a smooth installation and a flawless finish.
Tools and Materials
Essential Tools
To successfully apply the ultra-matte midnight green vinyl wrap, gather the following essential tools:
- Squeegee: This tool helps smooth out the vinyl and eliminate air bubbles during installation.
- Utility Knife: Use this for precise cutting of the vinyl wrap to fit your vehicle's contours.
- Heat Gun: A heat gun allows you to soften the vinyl, making it easier to stretch and conform to curves.
- Measuring Tape: Accurate measurements ensure you cut the vinyl wrap to the right size.
- Cleaning Cloths: Use these to clean the surface of your vehicle before application.
Recommended Materials
In addition to tools, having the right materials will enhance your wrap installation experience. Consider the following:
- Ultra-Matte Midnight Green Vinyl Wrap: This is the star of the show. Ensure you have enough material to cover your vehicle.
- Application Fluid: A mixture of water and a few drops of dish soap can help you reposition the vinyl during installation.
- Adhesive Promoter: This can improve adhesion on difficult surfaces, ensuring a long-lasting bond.
- Masking Tape: Use this to hold the vinyl in place while you work, allowing for adjustments as needed.
Tip: Before starting your DIY car wrap project, ensure you have all tools and materials ready. This preparation will streamline your installation process and help you achieve a professional finish.
By gathering these tools and materials, you set yourself up for a successful vinyl wrap installation. Take your time and follow the steps carefully for the best results.
Preparation for Application
Cleaning the Surface
Before you apply the ultra-matte midnight green vinyl wrap, cleaning the surface of your vehicle is crucial. A clean surface ensures that the vinyl adheres properly and reduces the risk of bubbles or imperfections. Follow these steps for effective cleaning:
- Wash the Vehicle: Start by washing your car with soap and water. Use a microfiber cloth to avoid scratching the paint. Rinse thoroughly to remove any soap residue.
- Dry Completely: After washing, dry the surface with a clean towel. Ensure no water spots remain, as they can affect adhesion.
- Use Isopropyl Alcohol: Wipe down the areas where you will apply the vinyl wrap using isopropyl alcohol. This step removes any grease, wax, or contaminants that may interfere with the application.
- Inspect for Damage: Check the surface for any scratches or dents. If you find any, consider repairing them before proceeding with the installation.
Tip: Take your time during the cleaning process. A well-prepared surface leads to a smoother application and a more professional finish.
Measuring and Cutting
Accurate measuring and cutting are essential for a successful vinyl wrap installation. Follow these guidelines to ensure you get it right:
- Measure the Area: Use a measuring tape to determine the dimensions of the sections you plan to wrap. Write down the measurements for reference.
- Add Extra Material: When cutting the vinyl wrap, add a few extra inches to your measurements. This extra material allows for adjustments during installation and helps with trimming excess vinyl later.
- Lay Out the Vinyl: Place the vinyl wrap on a flat surface. Use your measurements to mark where you need to cut. A straight edge or ruler can help you achieve clean lines.
- Cut with Precision: Using a utility knife, carefully cut along the marked lines. Ensure you maintain a steady hand to avoid jagged edges.
Note: Always cut the vinyl on a protective surface to prevent damage to your tools or the vinyl itself.
By following these preparation steps, you set the stage for a successful vinyl wrap application. Proper cleaning and accurate measuring will help you achieve a flawless installation that enhances your vehicle's appearance.
Application Techniques
Positioning the Wrap
Positioning the ultra-matte midnight green car vinyl wrap correctly is crucial for a successful installation. Follow these steps to ensure you place the wrap accurately:
- Start at One End: Begin by aligning one edge of the vinyl wrap with the corresponding edge of the vehicle. This initial placement sets the foundation for the rest of the application.
- Use Application Fluid: Lightly mist the surface of the vehicle and the adhesive side of the vinyl wrap with your application fluid. This step allows you to reposition the wrap if necessary.
- Gradually Unroll: As you apply the wrap, gradually unroll it while pressing it down. Work from one end to the other, ensuring that you maintain even tension on the vinyl.
- Check Alignment: Frequently check the alignment of the wrap as you go. Adjust as needed to ensure a straight and even application.
Tip: Take your time during this process. Rushing can lead to misalignment, which may require you to start over.
Smoothing and Securing
Once you have positioned the wrap, it’s time to smooth and secure it. This step is essential to avoid bubbles and ensure a flawless finish. Here’s how to do it effectively:
- Use a Squeegee: Begin smoothing the vinyl wrap from the center outwards using a squeegee. This technique helps push out air bubbles and ensures proper adhesion.
- Heat the Vinyl: If you encounter stubborn bubbles, use a heat gun to gently warm the vinyl. This softens the material, making it easier to manipulate. Be careful not to overheat, as this can damage the wrap.
- Work in Sections: Focus on small sections at a time. Smooth each section thoroughly before moving on to the next. This method allows for better control and reduces the risk of bubbles forming.
- Seal the Edges: After smoothing, pay special attention to sealing edges. Use the squeegee to press down firmly along the edges of the wrap. This step prevents lifting and ensures a clean finish.
Note: If you notice any bubbles after smoothing, don’t panic. You can use a pin to puncture the bubble and then smooth it out again.
By following these application techniques, you will achieve a professional-looking installation of your ultra-matte midnight green car vinyl wrap. Proper positioning and smoothing are key to a successful wrap that enhances your vehicle's appearance.
Tips for a Flawless Finish
Common Challenges
When applying your ultra-matte midnight green vinyl wrap, you may encounter a few challenges. Here are some common issues and how to overcome them:
- Air Bubbles: These can form during application. To eliminate them, use a squeegee to push the air towards the edges. If bubbles persist, gently puncture them with a pin and smooth the area again.
- Misalignment: If you notice that the wrap is not aligned correctly, don’t panic. Carefully peel back the vinyl and reposition it. The pressure-sensitive adhesive allows for adjustments without damaging the wrap.
- Creases: Creases can occur when the vinyl is stretched too tightly. Use a heat gun to soften the vinyl, then gently massage the area to remove the crease.
Tip: Patience is key. Take your time during the application process to minimize these challenges.
Maintenance Tips
To keep your vinyl wrap looking new, follow these maintenance tips:
- Regular Cleaning: Wash your vehicle regularly using a mild soap and water solution. Avoid abrasive cleaners that can damage the wrap.
- Avoid High Pressure: When washing, steer clear of high-pressure washers. They can lift the edges of the wrap and cause damage.
- Protect from Extreme Conditions: Whenever possible, park your vehicle in a garage or shaded area. Prolonged exposure to sunlight can fade the wrap over time.
- Safe Removal Techniques: If you decide to remove the wrap, use safe removal techniques. Heat the vinyl gently with a heat gun to loosen the adhesive, then peel it off slowly. This method ensures that you do not damage the underlying paint.
By addressing common challenges and following these maintenance tips, you can enjoy a flawless finish on your ultra-matte midnight green vinyl wrap for years to come.
Applying the ultra-matte midnight green wrap transforms your vehicle into a stunning masterpiece. Follow these key steps for a successful installation: clean the surface thoroughly, measure and cut accurately, position the wrap carefully, and smooth it out to eliminate bubbles. Preparation and technique are vital for achieving a flawless finish. Take your time during the process. Enjoy the transformation as you enhance your vehicle's appearance with this stylish wrap.
Remember, this installation guide serves as your roadmap to success!
0 Comments