

Vehicle wraps have become a popular way to personalize and protect your car, offering a vibrant, durable alternative to traditional paint jobs. However, installing a car wrap can present a series of challenges, especially for DIY enthusiasts or those new to the process. In this blog post, we’ll delve into the most common issues encountered during vehicle wrap installation and provide practical solutions to ensure a flawless outcome.
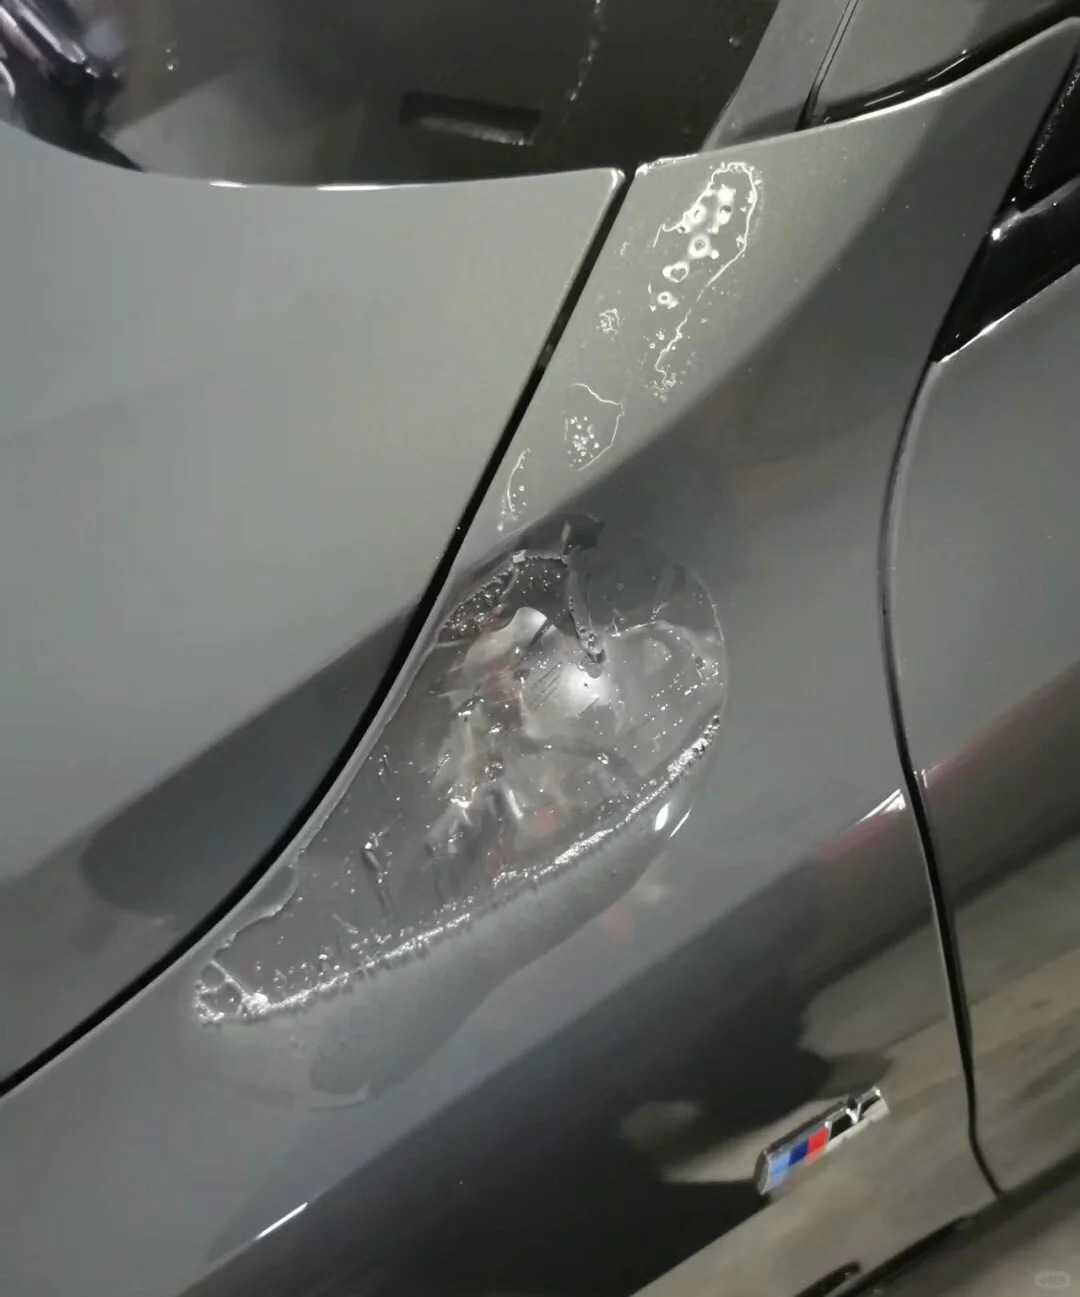
Bubbles and Air Pockets
Issue: Bubbles and air pockets are perhaps the most frequent complaints with vehicle wraps. They can be caused by dirt, moisture, or improper stretching and application techniques.
Solution:
Thorough Cleaning: Start by washing the vehicle thoroughly with a dedicated cleaner and using a clay bar to remove any contaminants embedded in the paint.
Dust-Free Environment: Install the wrap in a dust-free, temperature-controlled environment. Use tack cloths to remove any lingering dust.
Correct Stretching: Stretch the wrap material evenly before application to avoid wrinkles and bubbles.
Heat Gun Use: For stubborn bubbles, use a heat gun to soften the adhesive, allowing you to press out the air more effectively.
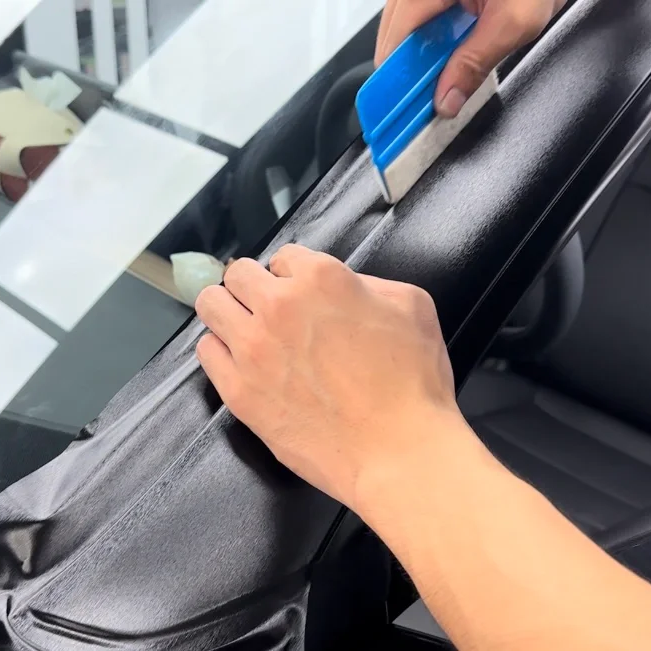
Wrinkles and Creases
Issue: Wrinkles and creases can detract from the wrap’s appearance and, in severe cases, lead to premature failure.
Solution:
Accurate Measurement: Measure the vehicle precisely and cut the wrap material to size before installation.
Gradual Application: Apply the wrap slowly, using a squeegee to flatten out any wrinkles as you go. Work in small sections to ensure a smooth finish.
Overlap Technique: When wrapping curved surfaces, overlap the material slightly and use heat to blend the seams seamlessly.
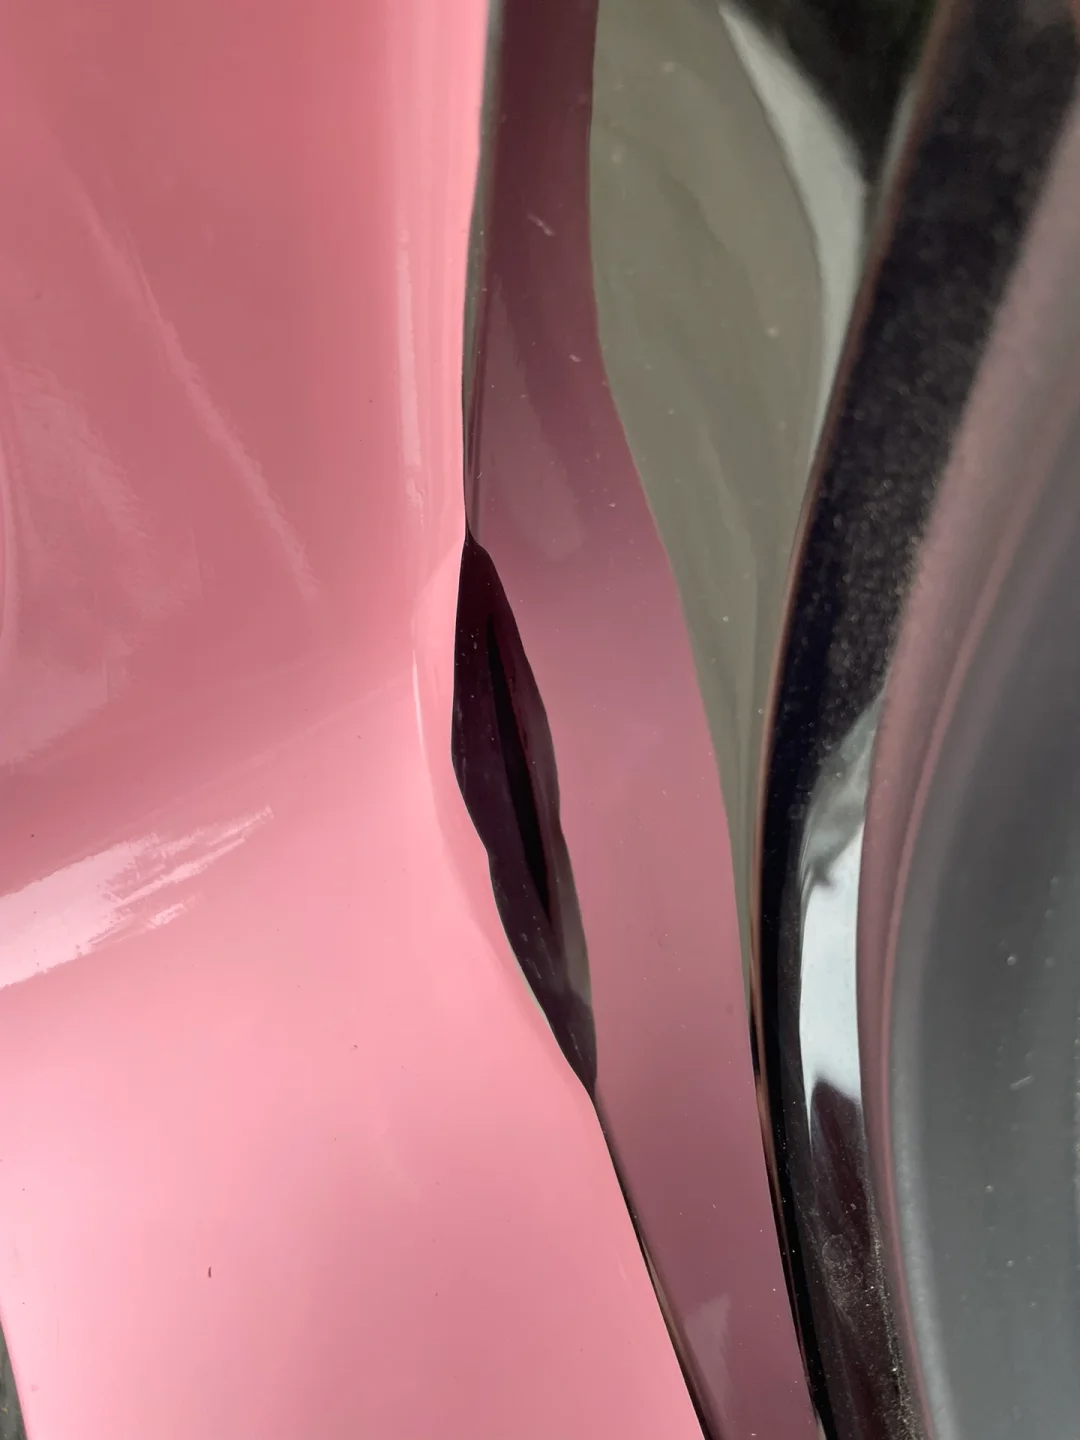
Edge Lift and Peeling
Issue: Edges of the wrap can lift or peel over time, especially in areas exposed to high heat, moisture, or friction.
Solution:
Edge Sealing: Use a specialized edge sealant to reinforce the bond between the wrap and the vehicle’s surface.
Quality Wrap Material: Invest in high-quality wrap material with a strong adhesive to ensure longevity.
Proper Maintenance: Regularly clean the wrap using mild detergents and avoid using abrasive tools or chemicals that could weaken the adhesive.
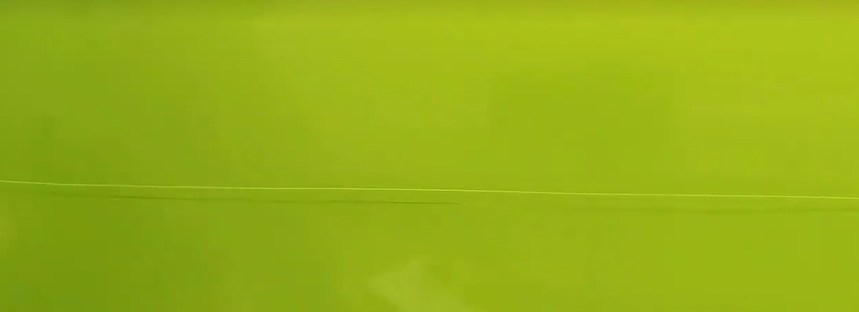
Cuts and Tear
Issue: Cuts and tears can occur during installation, especially when working with sharp edges or tight corners.

Solution:
Sharp Tool Handling: Use sharp, high-quality cutting tools to make clean, precise cuts.
Heat Application: Apply heat gun to soften the material around tight corners, making it more pliable and less prone to tearing.
Patience and Precision: Take your time and work slowly, especially around complex shapes and curves.
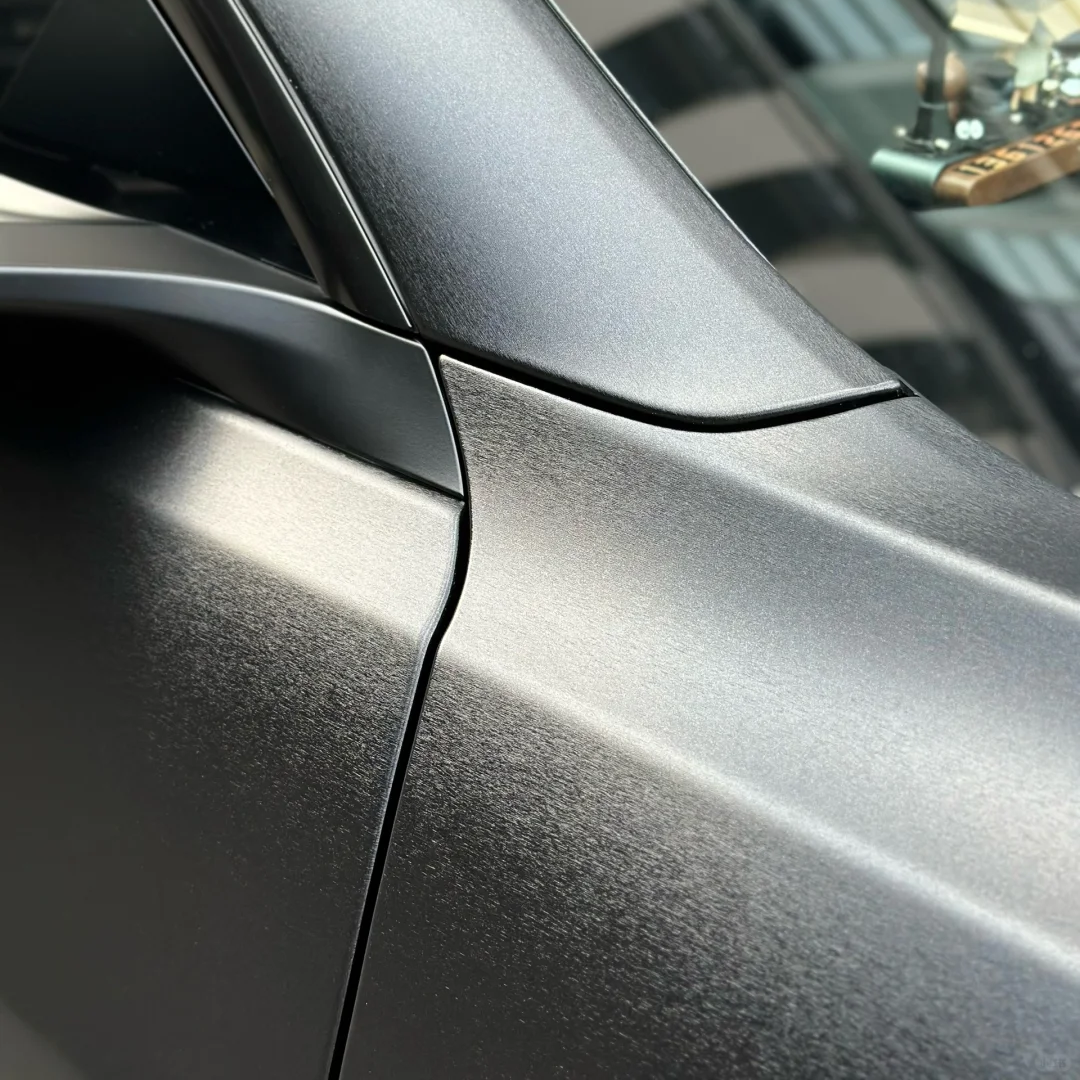
Improper Alignment and Seams
Issue: Misalignment and visible seams can ruin the wrap’s overall aesthetic appeal.
Solution:
Templates and Guides: Use templates or guidelines to ensure accurate placement and alignment of the wrap.
Overlap and Blend: When seams are unavoidable, overlap the material slightly and use heat to blend the seams together seamlessly.
Visual Inspection: After installation, thoroughly inspect the wrap from multiple angles and under different lighting conditions to ensure proper alignment and seamless seams.
Installing a vehicle wrap is a rewarding way to transform your car’s appearance, but it requires attention to detail and a willingness to tackle common challenges. By following the solutions outlined above, you can achieve a professional-grade wrap installation that looks great and lasts. Remember, patience, precision, and the use of quality materials are crucial for a successful wrap installation. Happy wrapping!
Another Information:
0 Comments